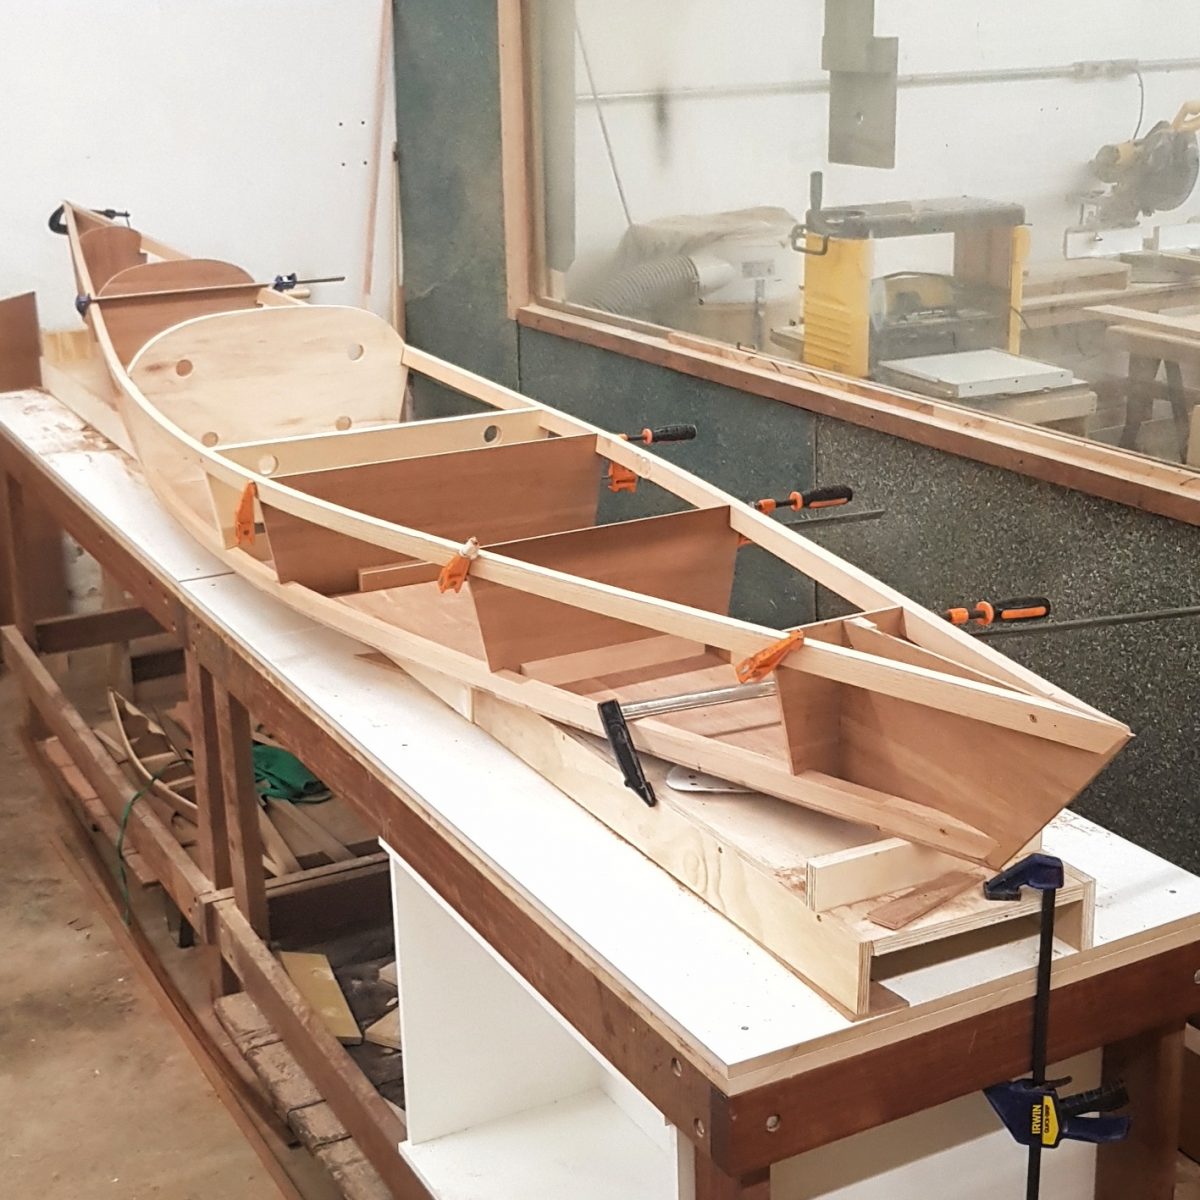
DIY Wooden Kayak Plans: A Simple Approach to Building Your Kayak
Embark on a rewarding journey of craftsmanship and adventure by building your own wooden kayak. This endeavor, while demanding, is an immensely fulfilling experience, allowing you to craft a personalized vessel tailored to your specific needs and preferences. This guide will walk you through a simple yet effective approach to building a wooden kayak, providing a foundation for your maritime masterpiece.
Choosing the Right Plans
The first step in your kayak construction journey is selecting the right plans. Numerous resources offer a wide array of kayak designs, ranging in complexity and skill level. Consider the following factors when making your decision:
Experience Level
If you're a novice woodworker, opt for plans designed for beginners. These plans typically feature simpler designs with fewer intricate details, allowing you to gain confidence as you build. More experienced woodworkers can explore designs that demand greater precision and intricate joinery techniques.
Kayak Style
Kayaks come in various styles, each serving specific purposes. Touring kayaks are ideal for long-distance paddling, boasting ample storage space and a stable design. Recreational kayaks are more versatile, suitable for leisurely paddling and fishing. Whitewater kayaks, with their maneuverability and durability, are designed for navigating rapids and challenging currents. Select a style that aligns with your intended use.
Material Selection
Wooden kayaks can be crafted from a variety of materials, including cedar, mahogany, redwood, and plywood. Each material offers unique characteristics in terms of durability, weight, and aesthetics. Cedar is renowned for its rot resistance and pleasant scent, while mahogany offers strength and durability. Redwood is known for its rich color and weather resistance, while plywood provides a cost-effective and versatile option. Choose the material that best suits your budget and desired aesthetic.
Gathering Materials and Tools
Once you've chosen your plans, gather the necessary materials and tools to bring your kayak to life. Your materials list will vary depending on the design and materials chosen. However, some common materials include:
- Wood planks (cedar, mahogany, redwood, or plywood)
- Epoxy resin and hardener
- Fiberglass cloth
- Marine varnish or paint
- Wood screws
- Deck hardware (seat, footrests, hatch covers)
Essential tools for building a wooden kayak include:
- Table saw
- Circular saw
- Jig saw
- Hand plane
- Sandpaper
- Clamps
- Drill
- Screwdriver
- Measuring tape
- Safety gear (eye protection, gloves, respirator)
Building the Hull
The hull is the backbone of your kayak, forming the watertight shell that carries you across the water. Building the hull typically involves the following steps:
Cutting the Planks
Begin by cutting the wood planks to the dimensions specified in your plans. Use a table saw or circular saw to ensure accurate cuts. Pay close attention to the grain direction of the wood, ensuring it runs parallel to the length of the kayak. This will enhance strength and prevent warping.
Joining the Planks
Join the planks together using a variety of methods, such as lap joints, scarf joints, or tongue-and-groove joints. Lap joints are relatively simple, while scarf joints offer greater strength. Tongue-and-groove joints are typically used for plywood construction. Use epoxy resin and screws to secure the planks together, ensuring a watertight seal.
Adding Ribs and Stringers
Ribs and stringers provide structural support and shape to the hull. They are typically spaced according to the plan specifications. Ribs are curved pieces of wood that run perpendicular to the length of the kayak, while stringers run parallel to the length, adding longitudinal support. Attach the ribs and stringers using epoxy resin and screws, ensuring they are properly aligned with the plan.
Creating the Deck
Once the hull is assembled, construct the deck. The deck is the upper portion of the kayak, providing a platform for the paddler and adding rigidity to the structure. Deck construction typically involves framing the deck perimeter using battens and then attaching deck panels. Secure the deck to the hull using epoxy resin and screws.
Finishing Touches
With the hull and deck completed, it's time to add the finishing touches to your kayak. These final steps will transform your creation into a functional and aesthetically pleasing vessel.
Epoxy and Fiberglass
Apply epoxy resin and fiberglass cloth to the interior and exterior of the hull and deck. This process provides a strong, waterproof barrier that protects the wood from moisture and impact. Follow the manufacturer's instructions for mixing and applying the epoxy and fiberglass. Ensure complete coverage and allow for adequate drying time.
Adding Deck Hardware
Install deck hardware such as seats, footrests, hatch covers, and rudder systems. Choose hardware that complements the style of your kayak and meets your specific paddling needs. Securely fasten the hardware using screws or epoxy resin.
Varnishing or Painting
Apply a protective coating of marine varnish or paint to the exterior of the kayak. This step not only enhances aesthetics but also safeguards the wood from UV damage and weathering. Choose a marine-grade product designed for outdoor use and apply it in multiple coats for optimal protection.
Launching Your Kayak
After completing all the steps, your wooden kayak is ready for its maiden voyage. Find a calm body of water and launch your creation. Experience the thrill of paddling your handcrafted vessel, knowing that you have poured your heart and skill into creating a unique and personal masterpiece. Your journey of adventure begins!
0 留言:
發佈留言
注意:只有此網誌的成員可以留言。